Contents
- Clarify the setup before choosing the pieces
- Choose a selection that conveys a direction
- Prepare a fact sheet for each creation
- Test the presentation on a small scale
- Prepare a few words to talk about the work
- Plan transportation and installation day
- After the exhibition, take stock in a useful way
- Frequently asked questions
To prepare for your first amateur exhibition, start by confirming the setup with the venue, then choose a small, cohesive selection. Note the dimensions, installation needs, and information that will accompany the creations. You can put together a clear presentation without producing an entirely new series or turning every piece into a demonstration of your complete journey. For a photographic body of work, work on the selection and sequence of your series before finalizing the prints.
An exhibition in a studio, an association, or a shared space can take many different forms. Use your journal to gather questions and decisions. The arrangements agreed upon with the organizer remain the reference, especially for installation, supervision, possible sales, and retrieving the works. Before installation, a personal premortem can help you check a few practical arrangements. If you’re preparing the exhibition as a duo, divide up the tasks and decisions before you begin.
Clarify the setup before choosing the pieces
Ask what space is available, how long the presentation will run, and what kind of audience visits the venue. Check the display options, transport access, and installation hours. A photo of the room can help, but confirmed dimensions are more useful than a visual impression alone.
Note everyone’s responsibilities. Who installs, opens, supervises, and takes everything down? What are the safety guidelines and conditions for the works? If fees, insurance, a sale, or a contract are involved, read the documents and clarify anything uncertain before committing. A preparation journal does not replace that agreement.
Separate confirmed facts from open questions. “Three-meter wall available” and “need to check whether a table can be used” should not appear as equivalent conditions. This lets you prepare a provisional selection without building the entire presentation around something that is still uncertain.
Choose a selection that conveys a direction
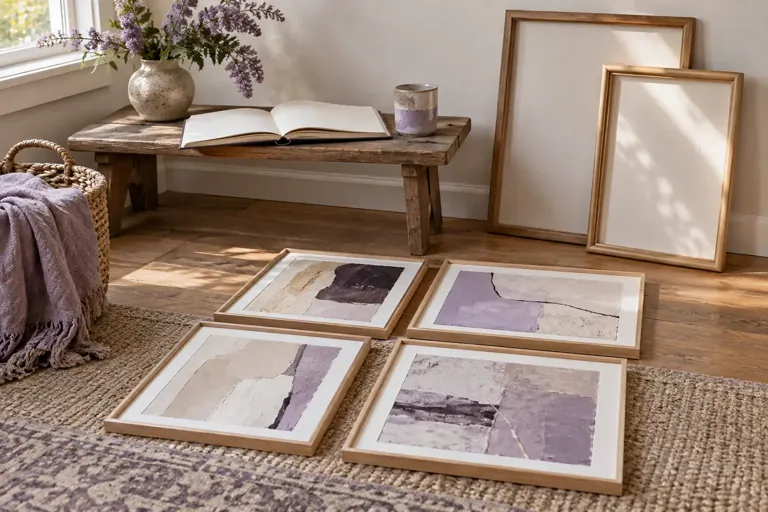
Lay out photographs of your creations or gather the pieces together if they’re easy to handle. Look for a connection: material, subject, format, period, or a question explored in your work. The pieces don’t all have to look alike to form a cohesive selection. Cohesion helps visitors understand why they’re being shown together.
Start by choosing fewer pieces than the maximum capacity you expect. The space between objects, walkways, and readable information matter too. A short selection can show your work better than a crowded group where every piece is short on space.
You can keep a backup list. If a work presents a practical problem or turns out not to suit the space, you’ll have an alternative. Avoid making a new piece in a rush just to fill a gap. The creative project journal helps you distinguish what’s ready, what needs finishing, and what belongs to a future series.
Prepare a fact sheet for each creation
Note the title if it has one, the date or period, the technique, dimensions, and any special requirements. Use terms you can explain. A simple, accurate description is better than specialized vocabulary you’re unsure about.
Add a reference photo and an internal number. This number can help match the piece with its packaging and intended location. It doesn’t need to be visible to the public. Keep information about value, sales, or contact in the appropriate document, according to the venue’s terms.
Check the titles and measurements before printing the labels. An error repeated across several materials is harder to correct on installation day. Prepare an editable version and a few replacement copies if the exhibition setup allows it.
Checklist
Before finalizing the selection
0 / 5
The selection can now be prepared for the actual venue, with its known constraints in mind.
 Read alsoLimiting beliefs: how to recognize and move beyond them, one step at a time
Test the presentation on a small scale
Draw a simple plan or use paper rectangles roughly proportional to the artworks. Try different arrangements. Notice what draws the eye first, which pieces work well together, and where there’s open space. The plan can help guide a discussion; it doesn’t replace checking the space in person.
For objects, consider the surfaces, stability, and circulation. Don’t choose a risky hanging method or support on your own. Follow the venue’s instructions and have anything requiring special handling approved. Aesthetic choices shouldn’t obscure an important practical constraint.
You can set a few presentation criteria: readable information, clear pathways, identifiable pieces, and an arrangement suited to the space. The guide to defining what success looks like for a goal helps you choose observable criteria without trying to predict every visitor’s reaction. Before a larger exhibition, you can choose an initial audience for an imperfect creation. Before preparing the labels, compare several titles for your creation based on the expectations they set for the public.
Prepare a few words to talk about the work
Write a short introduction: what you create, what you explore in this selection, and one concrete example. You don’t need to tell your whole story or justify your right to show your creations. Precise wording leaves visitors free to ask their own questions.
Avoid introductions that dismiss your work, such as “it’s really nothing” or “I’m not a real artist.” You can say that you’re presenting a first series or exploring a technique. The guide to talk about yourself without putting yourself down suggests replacing these introductions with facts and examples.
Also prepare a response to questions you don’t want to answer publicly. Some works may have a personal origin without your wanting to share every detail. You can talk about the material, form, or process and keep the rest private.
Plan transportation and installation day
Make a list of the pieces, packaging, and materials permitted by the venue. Check what’s provided and what you need to bring. Plan the trip and access, and leave room for unexpected delays. A work that’s ready in the studio isn’t yet installed under the right conditions.
Photograph the condition of the rooms before you leave, and keep an inventory suited to the arrangement you agreed on. Handle items according to how fragile they are, and ask for help when their size or weight calls for it. Don’t turn preparation into a test of self-reliance at all costs.
Once you’re there, start by checking the actual conditions before unpacking all your materials. The plan may need adjusting. Note any important changes, and keep a photo of the final display if the venue’s rules and people’s rights allow it.
After the exhibition, take stock in a useful way
Note the questions that came up repeatedly, the information that was missing, and the practical constraints you hadn’t anticipated. Audience comments can suggest new directions, but they aren’t a single verdict on the value of your work. Distinguish specific observations from personal preferences.
Check that the pieces have been retrieved and that you’ve wrapped up the arrangements agreed on with the venue. Organize the documents, photographs, and useful information for a future showing. You don’t need to keep every logistical detail, but the dimensions, supports, and difficulties you encountered may save you time later.
End by choosing what comes next: continue the series, revisit the display, show fewer pieces, or take time to create without planning an exhibition. Your first experience can teach you what you enjoy about sharing your work, without obliging you to turn this practice into a professional activity right away.
Frequently asked questions
Do I need to have a lot of artwork?
No. The number depends on the venue and the project. A small, cohesive selection can be easier to take in than a large collection chosen just to fill the space.
Should I set a price for each piece?
Only if a sale is planned and in accordance with the agreed terms. Clarify the arrangements with the organizer before preparing any public information.
How should I respond to criticism?
You can thank the person for their perspective and ask for an example if you find the feedback useful. You don’t have to change your work right away or debate every preference.