Contents
- Observational drawing: what should you work on first?
- Set up an object and a simple drawing session
- Four observational drawing exercises
- Review a beginner drawing without reducing yourself to its result
- Vary your observation without making everything more complicated at once
- Look at artworks without comparing yourself unfairly
- Choose your first attempt
- Draw twice without erasing your first attempt
- Frequently asked questions
- Sources
Drawing as a beginner starts with looking at shapes, directions, and differences, then leaving a trace of them on paper. You don’t need to prove you have a natural talent to try: a simple object and a pencil are enough to get started with observational drawing.
This workshop doesn’t promise a realistic result in a few minutes. It offers short exercises to help you distinguish what you see from what you draw out of habit. You can compare attempts, choose one challenge, and finish without judging your overall artistic ability.
Observational drawing: what should you work on first?
Start with the relationship between looking and drawing. You know a cup has a round opening, but from the side, that opening doesn’t look like a perfect circle. Observational drawing asks you to look at this particular appearance. It’s not about denying what you know about the object, but about not letting that knowledge replace all the visible clues.
The National Gallery of Australia publishes an educational resource that distinguishes between drawing what you observe and drawing what you already believe you know. Designed for an educational setting, it suggests, among other things, looking at visible relationships rather than only at the names of objects. The exercises in this guide are personal suggestions, not tests that measure ability or a program that guarantees progress by a particular date.
| First goal | Action to try | What to set aside |
|---|---|---|
| Outline | Slowly follow an edge | Complex shadows |
| Proportion | Compare width and height | Small patterns |
| Direction | Notice a tilt | Decorative detail |
| Value | Distinguish light from dark | All the colors |
If starting an activity puts pressure on you, the guide to confidence for beginners can complement this practice. Here, you have just one task: choose one visible feature and examine it. An awkward-looking page can contain an accurate observation, even if you’re not happy with the whole thing yet.
Set up an object and a simple drawing session
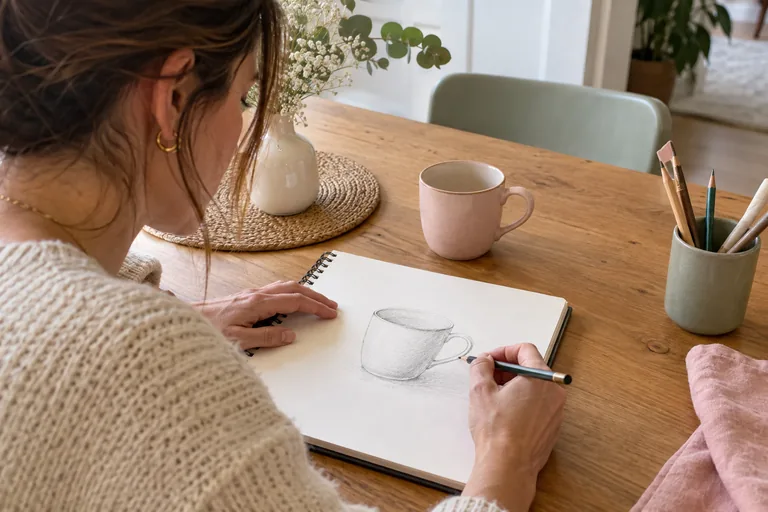
Place a spoon, cup, or shoe in front of you against an uncluttered background. For your first attempt, avoid multiple reflections, transparent objects, and compositions with ten elements. Relatively steady light makes comparison easier, but no special lighting is needed. Leave enough room to move your arm, and adjust your support if a position becomes uncomfortable.
Choose a pencil you already own and an ordinary sheet of paper. Precious materials can make every mark feel more intimidating; a familiar tool lets you explore. If fine movements are difficult, use a larger format or a thicker tool suited to your grip. There is no single correct posture for observing and making a mark.
Set aside a solo creative session short enough to stay present. You can try once, take a break, and then try a second time. Just note the date and your goal. Your learning journal can hold the comparison without turning every page into an assignment to be graded.
Four observational drawing exercises
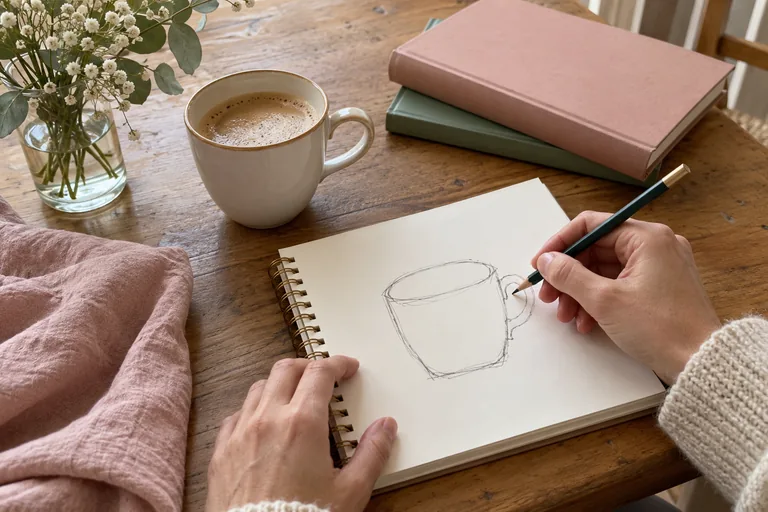
1. Slowly follow the outline
Look at the object’s edge and trace its path without trying to correct every deviation. You can look up often and keep the drawing in view. The point is to notice changes in direction: a curve flattens, an edge breaks, a line disappears behind another. Complete the outline, then compare just two places instead of declaring the whole shape a failure.
2. Draw the surrounding shape
Observe the empty space between a cup’s handle and body, or between the legs of a chair. Draw that space as if it were an object. This changes the question: instead of reproducing a cup symbol you’ve known for a long time, you look at a less familiar shape. The result may still look strange; the exercise is useful if it helped you see a new relationship.
3. Lay in the main proportions
Before the details, mark the maximum height and width. Ask yourself whether the object is about twice as tall as it is wide or almost square, without trying to get a perfect measurement. Then place the opening, handle, or shaft within that frame. These guidelines help you avoid finishing a very precise small area only to discover that the whole object no longer fits on the page.
4. Choose three values
On a fresh sheet, distinguish a light area, a midtone area, and a dark area. You can leave the paper untouched for the light area and use two pencil pressures for the rest. The goal isn’t to reproduce every shade, but to understand how the shapes are arranged. Compare this study with the previous outline: you’re working with another aspect of the same object.
Review a beginner drawing without reducing yourself to its result
Place the drawing near the object and make a verifiable observation: “my handle is wider,” “the shaft extends farther down,” “the dark area starts too soon.” This sentence opens the door to action. “I can’t draw,” by contrast, closes the investigation before you’ve identified what you could try differently.
You can circle one detail you got right and choose just one correction for your next drawing. You don’t necessarily have to erase the earlier one: the difference between two versions tells you something about how you see. The creative project journal can keep these studies along with their goal, while the guide to celebrating yourself before you reach perfection helps you recognize a discovery that is modest but real.

Workshop: choose one adjustment
The shape doesn’t fit on the page
First mark the object’s four boundaries, then place the elements inside them.
I’m drawing an idea of the object
Look for an empty space or an unusual tilt, then draw only that relationship.
The details distract me
Make a version with three areas of light and dark, without patterns or texture.
 Read alsoScripting: Write your dream life to clarify what you want
Vary your observation without making everything more complicated at once
Draw the same object again from a different point of view. Turn it slightly or position yourself lower down. You’ll see which lines belong to the object and which depend on where you’re standing. A observation walk can then offer other subjects, but start with shapes you can access from a safe, permitted place.
If you’d like to add color, keep the drawing simple and try a small palette. The color notebook offers comparisons of adjacency and proportions. You can also use your outlines in a creative collage : a study doesn’t have to stay in the genre it began in.
Look at artworks without comparing yourself unfairly
A collection of visual references can show different ways to draw: continuous line, hatching, patches, or simplified shapes. Note the technique that interests you instead of concluding that your sketchbook should already look the same. You’re comparing a work in progress with a selected, presented piece, often created after many other invisible steps.
For a outside feedbackask whether the subject is recognizable or which proportion draws the eye. No one needs to decide whether you’re talented. If you’d like to improve a specific technique, a suitable course or teacher can support you; choose based on the kind of learning you’re looking for, not because your first pages need correcting before they’re allowed to exist.
Finish by writing down your next question: observe an ellipse, compare two angles, or simplify a shadow. Put your supplies away so you can pick them up easily next time. You’ve drawn when you’ve looked and made marks with intention, even if the result is uncertain and no one else sees it.
Choose your first attempt
Generator
An object and a gaze
Trace the edge of a spoon without drawing its reflection.
See all the phrases
Outline
- Trace the edge of a spoon without drawing its reflection.
- Observe the empty space inside a cup’s handle.
Value
- Draw a shoe with three areas of light and dark.
- Compare a bowl’s shadow with the bowl itself.
Quiz
Observe or evaluate?
A first drawing has to be realistic to be useful.
See the answer
No. A precise observation can appear in an attempt that is still rough.
You have to correct every flaw at the same time.
See the answer
No. A limited goal makes it easier to make a clear comparison between two attempts.
Flip cards
Return to looking
I only see what went wrongFlip
Name one specific difference and one observed detail.
I don’t have enough suppliesFlip
Try with a sheet of paper and a tool you already have.
I’m copying a symbolFlip
Look at the actual angle and the empty spaces.
I’m getting tiredFlip
Adjust the format, position, and duration without pushing yourself.
Checklist
An observation session
0 / 5
Your attempt led to an observation, without having to prove your talent.
Draw twice without erasing your first attempt
For a simple test, draw a spoon, then turn the page over. Observe the object again before starting the second version. Choose just one correction, such as the angle of the handle. You may find that the second drawing is more accurate in that respect while losing a detail that worked in the first. This comparison is more informative than assuming progress will always be steady.
Then place the two sheets together and write a sentence for each one. Avoid overall ratings. “The hollow is easier to make out” and “the handle is better oriented” describe two successes that could come together in a third attempt, if you feel like it. You can also stop there. The session has already revealed a difference you know how to name, without needing to produce a final version of the object.
For a complementary perspective, watch this video from Drawing & Painting - The Virtual Instructor.
Frequently asked questions
Can you draw without talent?
You can start an observational practice without proving you have a natural aptitude first. Your first attempts are for looking and understanding gestures, not for reaching a verdict.
What supplies do you need?
A sheet of paper and a pencil may be enough. Adapt the tools to your comfort and the kind of mark you want to try.
What object should you choose to start?
A stable, simple object, such as a cup or a spoon. At first, avoid very busy compositions if they scatter your attention.
Should you erase mistakes?
You can make corrections, but keeping some attempts helps you compare. Choose one specific change instead of erasing the whole page.
How long should you draw?
Start with a comfortable amount of time and take breaks. There’s no required duration or promise that everyone will make the same progress.
Do I have to show my drawings?
No. A private sketchbook is a complete practice in itself. If you ask for feedback, be specific about what you’d like help with.