Contents
- What does it mean to create with few materials?
- Make a short, realistic inventory
- Create with few materials by changing one thing at a time
- Four project examples with no required purchases
- Know when the limit is no longer helpful
- Keep a useful record and tidy up easily
- A session with what you have
- Distinguish an exploration session from the final project
- Frequently asked questions
- Sources
Creating with few materials means choosing a few resources you already have and exploring what they make possible, rather than waiting for the ideal tool. For this session, choose a surface, a tool that leaves a mark, and something to observe or transform: that gives you enough of a framework to get started.
A material constraint is neither proof of virtue nor a guarantee of creativity. Here, it helps reduce decisions and make the session possible. You’ll set a small intention, try variations, and identify when additional materials would be genuinely useful.
What does it mean to create with few materials?
This isn’t about making just anything with unsuitable objects. A writing session may need only paper and a pencil; a printmaking technique requires different tools and its own precautions. Start with a project that suits your space, time, and tools. Simplicity comes from matching the action to the materials, not from arbitrarily keeping the number of objects low.
The MOCA resources on Josef Albers show an interest in the properties of materials and learning through experimentation. An educational resource from the National Gallery of Australia also offers observational drawing exercises using paper and pencil. These references encourage you to notice what a tool makes possible; they don’t mean that all techniques are equal or that materials never matter.
| Available materials | Possible project | Limitation to accept |
|---|---|---|
| Paper and pencil | An object’s contours | Not all the colors |
| Clean paper and suitable glue | A composition of shapes | Drying time and thickness |
| Notebook and pen | A writing exercise with constraints | Visible corrections |
| Phone you already have | A small photo series | The device’s capabilities |
If you’re choosing among several practices, the solo creative session helps you choose a limited framework. You can decide to make just one attempt with what’s on the table. The session shouldn’t start with a shopping list that puts off taking action until another day.
Make a short, realistic inventory
Gather the tools you can actually use: a pencil that writes, clean sheets, reclaimed paper with no private information, and glue suited to the intended use. Set aside unknown products, sharp objects without appropriate protective equipment, and materials that give off an unusual smell. A creative constraint doesn’t justify mixing products or improvising a potentially dangerous technique.
Next, note what each material can do. A pen draws fine lines but doesn’t erase easily; cardboard keeps a fold but adds thickness; printed paper already brings shapes and colors. Reading these properties gives you more specific ideas than a simple list of objects. The texture journal can extend your exploration when the surfaces are suitable.
Choose no more than three items for your first try, without making it a permanent rule. The surface, tool, and subject may be enough. Put the rest out of your immediate space if that helps you decide. You can bring it back out later; you’re not giving up your other practices, you’re simply defining today’s session.
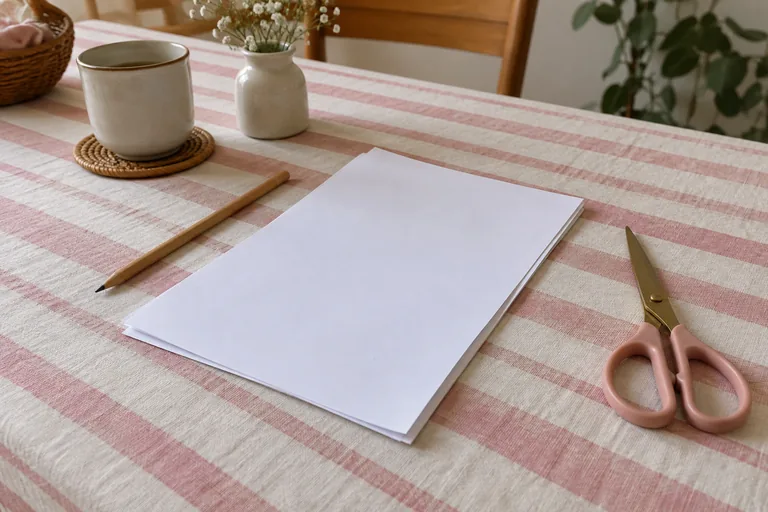
Create with few materials by changing one thing at a time
1. Explore the gesture
With a pencil, try a continuous line, dots, hatching, and light shading in four small areas. With paper, compare tearing, folding, and layering. Observe the result before looking for a finished image. You’ll discover a range of gestures using the same material instead of assuming that a new idea requires a new tool.
2. Set a modest intention
Next, choose a prompt: represent a cup using three masses, build a page with two shapes, or tell a story about waiting in five sentences. The guide to drawing as a beginner and the one on writing with constraints offer suitable frameworks. A specific intention makes it easier to evaluate your attempt.
3. Create two comparable versions
Keep the subject and tools the same, then change just one decision. You could enlarge a shape, reverse the light and dark, or remove a sentence. The two versions let you observe an effect. If you change everything at once, you may end up with two interesting pieces, but it’s harder to see what caused the difference.
4. Choose what deserves to continue
Look at the versions side by side. Name one property you want to keep and one limitation that bothers you. “The paper folds well but doesn’t hold up to glue” is concrete information. “I need better materials” is too vague to help you decide. Your learning journal can preserve this distinction for a future session.
Four project examples with no required purchases
For a drawing, choose an object and draw only its outline, then its shadow. You don’t need every value to examine a proportion. For a paper composition, cut or tear three simple shapes with the tools you have, then move them around without gluing them down right away. The creative collage can offer a selection method.
For a text, choose three concrete words inspired by the room and tell about an action. The materials are minimal, but the choices are still rich: voice, length, rhythm, and ending. Keep the variations in your creative project journal. You can return to the same constraint with a different scene instead of looking for an entirely new practice each time.
Finally, a small photo series can use a phone you already have. Choose a nearby subject you’re allowed to photograph, then work on your selection. Not having a specialized lens doesn’t prevent you from exploring the framing of an object on a table. It limits certain shots, which is something to take into account rather than a personal failing.
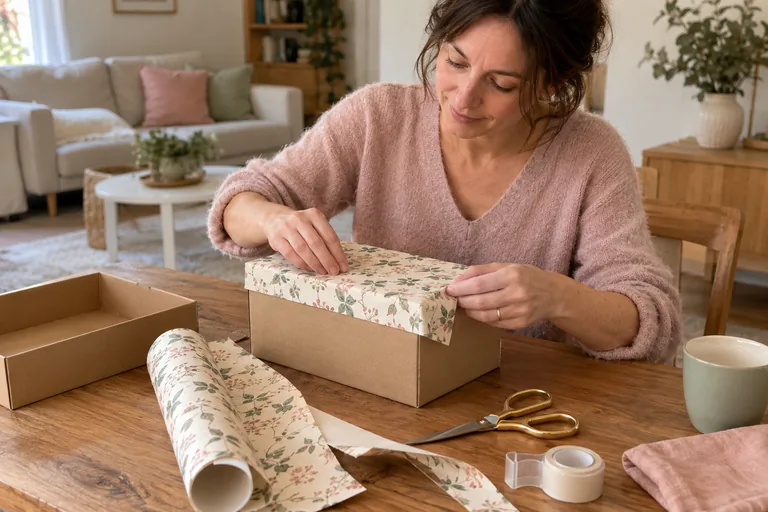
Workshop: Choose your materials for today
What materials are ready to use?
Choose an available sheet, page, or workspace suited to the activity.
Which tool are you familiar with?
Choose a tool you know how to use. Avoid unfamiliar products and risky improvisations.
What variation will you compare?
Keep the subject and tool the same, then change one proportion, direction, or order. Plan two versions.
 Read alsoScripting: Write your dream life to clarify what you want
Know when the limit is no longer helpful
If the project requires a property that your materials lack, acknowledge that. Paper that is too fragile for the chosen technique won’t become suitable through motivation alone. You can change the project, borrow a tool in an appropriate setting, or postpone that technique. Creative autonomy includes the right to change the constraint, not just the obligation to put up with it.
Before making a purchase, if you decide to, define what you need by its function: a surface that can withstand water, a tool that makes a wider line, a stable workspace. It will be easier to tell a real need from a desire sparked by a demonstration. This article doesn’t recommend any products; it helps you know what question to ask if you decide to get supplies later.
If this is your first session with a practice, you can also work on the confidence to begin a new activity by separating exploration from evaluating the result.
Keep a useful record and tidy up easily
Take a note or photo of your two experiments if doing so respects their privacy. Add the materials you used and the variation you tested. Your idea notebook can hold an idea for what to try next, but don’t turn every possibility you discover into a task. A session can simply broaden your repertoire without launching a big project.
For a feedback on your creation, ask what changes between the two versions rather than whether the materials look professional. You can also recognize a small result such as a more carefully observed proportion or a more legible page. Put away the tools while they’re still ready to use: being able to pick up where you left off is part of what this session helped you build.
A session with what you have
Generator
A variation without a new tool
Draw the same object with a line, then with dots.
See all the phrases
Drawing
- Draw the same object with a line, then with dots.
- Compare a very small outline with a larger one.
Paper
- Keep three shapes and change only their positions.
- Reverse the placement of filled and empty space on a page.
Quiz
Chosen limitation or obstacle?
Using less material guarantees a better creation.
See the answer
No. A limitation is a framework for working, not a guarantee of results.
You can change the project if the materials aren’t suitable.
See the answer
Yes. The activity should remain compatible with the tools and safety requirements.
Flip cards
Adjust the session
I want to buy something before I startFlip
First, try a version with the materials you already have.
The surface isn’t suitableFlip
Change the project or choose a suitable surface.
Everything changes between my experimentsFlip
Keep the subject and tools the same, then vary just one choice.
I don’t know what’s missingFlip
Describe a specific function rather than an ideal material.
Checklist
An accessible practice
0 / 5
You explored practical possibilities without waiting for perfect equipment.
Distinguish an exploration session from the final project
A trial with ordinary paper can help you choose a composition, even if you already know the final version will need a different surface. Clearly note its purpose: a mock-up, a test of your technique, or a version to keep. That way, you won’t judge a rough material draft by qualities it wasn’t meant to have, such as durability or a particular finish.
To move on, keep the decisions that are useful: dimensions, the order of the shapes, and the main contrast. Any new tool should serve those decisions, not replace them. You may find that a more suitable surface is enough, without needing a full set of supplies. That limited exploration will have helped clarify the project and reduce unnecessary spending while still meeting the actual requirements of the technique you chose.
For a complementary perspective, watch this video from TED-Ed.
Frequently asked questions
What can you create with few materials?
A still-life drawing, a short piece of writing, or a paper composition may be enough. Choose based on the materials available and the technique you want to explore.
Are three tools always enough?
No. This is a starting point for a simple session. Some techniques require specific materials and precautions.
Do expensive materials necessarily improve the result?
They can offer useful qualities, but they don’t determine the composition or intention on their own. First, identify the function you’re missing.
Can you use reclaimed materials?
Yes, if the materials are clean, suitable, and contain no private data that could be exposed. Avoid unknown products or objects that pose a risk.
When should you buy a tool?
When you can name a real need that your available materials can’t meet. You can also adapt the project or consider borrowing something suitable.
How can I avoid feeling limited?
Try several techniques with the same tool. If the constraint is genuinely blocking your project, you can loosen it without treating the attempt as a failure.