Contents
- Texture journal: What is creative rubbing?
- Choose surfaces without leaving a mark on them
- Make your first texture journal
- Transform an impression without losing track of where it came from
- Sort textures so you can find them again
- End the session with one concrete choice
- Prepare for your exploration
- Make a texture instead of searching for one outdoors
- Frequently asked questions
- Sources
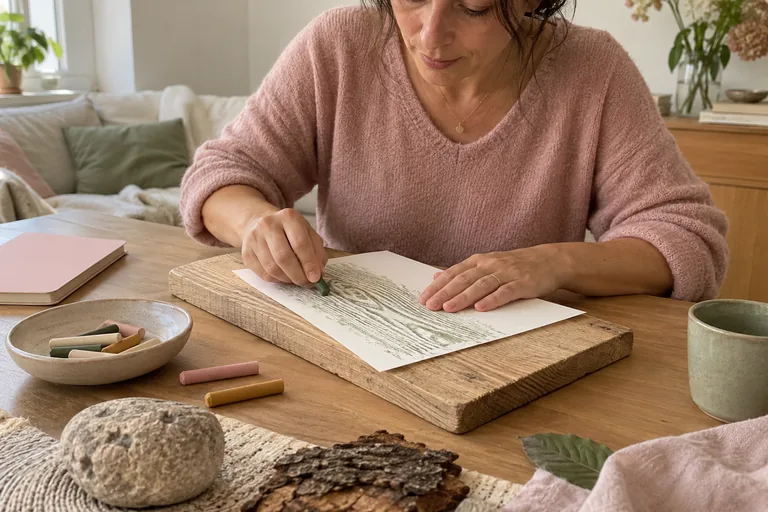
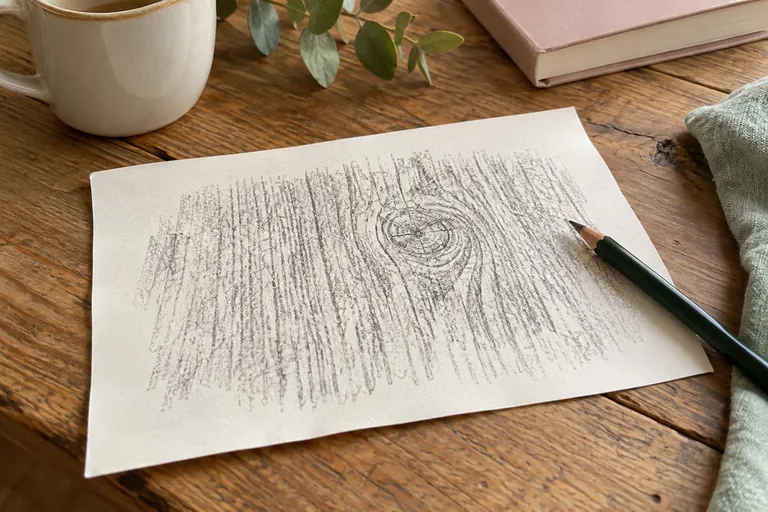
A texture journal made with rubbings brings together impressions created by gently rubbing a pencil over a sheet of paper placed on a raised surface. Start with objects that belong to you and can withstand the process: you can explore patterns without removing material or drawing every detail by hand.
This practice requires little material, but you need to choose surfaces carefully. You’ll compare reliefs, note where they came from, and compose a page. The goal is graphic exploration, never a reason to rub a monument, a work of art, or fragile bark.
Texture journal: What is creative rubbing?
The sheet picks up differences in relief through contact and the movement of the pencil. Raised areas generally leave stronger marks than indentations, depending on the pressure, paper, and tool. You get an indirect trace of the surface. It is neither an exact mold nor a guaranteed copy of all its characteristics.
The Centre Pompidou documents frottage in Max Ernst’s work, including *La forêt pétrifiée*. This reference places the technique in art history without reducing your experiments to imitations of his work. Observe the principle, then choose your own surfaces, scale, and ways of combining them.
| Possible surface | Benefit | Caution |
|---|---|---|
| Personal corrugated cardboard | Regular lines | Check that it’s clean |
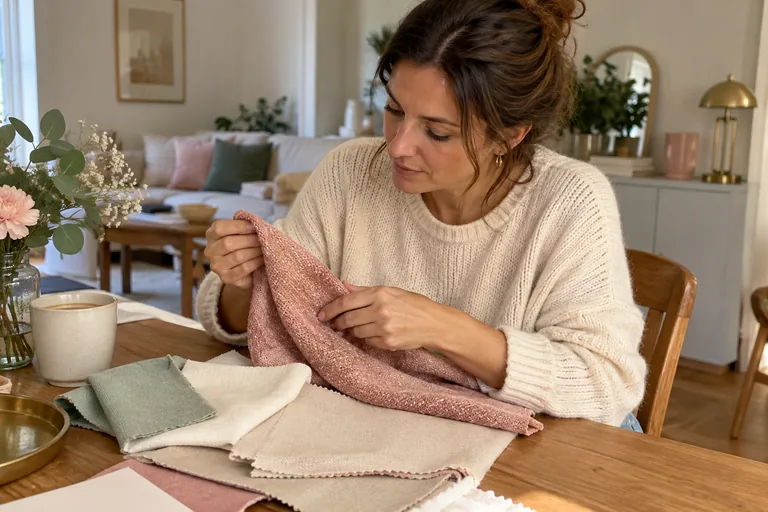
| Sturdy fabric you have on hand | Soft weave | Avoid delicate materials |
| Folded sheet of paper | Created relief | Don’t tear the surface |
| Personal textured object | Distinctive pattern | Test without damaging the object |
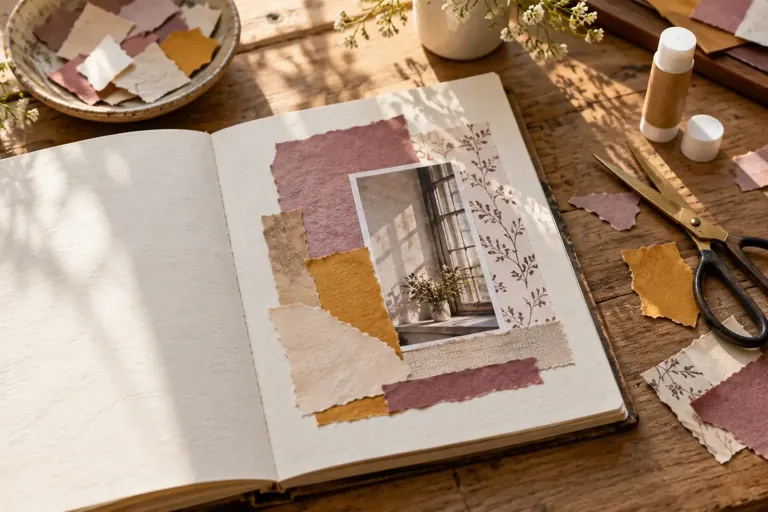
The creative journaling through collage offers a natural next step: the impressions become materials to cut out or layer together. You can also keep them whole if their origin matters to you. The page doesn’t need to look like a painting to be an interesting result.
Choose surfaces without leaving a mark on them
Start at home with cardboard, a sturdy coaster, or fabric whose durability you know. Avoid antique objects, fragile varnished surfaces, precious papers, and dirty or sharp materials. Putting paper between the object and the surface doesn’t automatically make every contact harmless. Pressure, rubbing, or a tool that goes beyond the paper can still leave a mark.
In public spaces, don’t rub over inscriptions, monument stones, graves, artworks, trees, or installations without the appropriate permission. You can draw or take photos when permitted, then make a relief inspired by what you observed on cardboard. A creative observation walk can therefore inform your journal without collecting anything physical.
If you observe nature, leave things in place when removing them is prohibited or could cause harm. The nature journal can hold a description of bark, moss, or a leaf. You don’t have to get an impression at any cost: choosing not to use a surface is part of shaping the project.
Make your first texture journal
1. Prepare a simple test
Place your chosen surface on a stable base. Put a sheet of paper over it and hold it in place without pressing down on the relief. Use the side of a suitable pencil lead rather than a point that could puncture the paper right away. Start with light pressure and check the result before continuing. If the paper tears or the material shifts, stop and change your setup.
2. Change one variable at a time
Make three small tests with the same surface: light pressure, a firmer pass, and a different direction. Don’t change the paper, pencil, and material all at once. That way, you’ll know what caused the variation. Note the conditions in your learning journal using simple words, without trying to create a perfectly technical classification.
3. Name the pattern you observe
Describe what you see: broken lines, scattered dots, a tight weave, a barely visible relief. You can add a personal image, like “slanting rain,” while also keeping track of where it really came from. The metaphor notebook can hold the poetic association; the texture record should make it possible to find out how the impression was made.
4. Build a page with contrasts
Choose three impressions rather than using every one from the session. Compare a dense texture, a more open one, and an area left blank. Their relationship creates a composition. If every area is equally busy, the eye may not know where to begin. Try several arrangements before gluing anything down, and keep a photo of your trial if you’d like to compare versions.
Transform an impression without losing track of where it came from
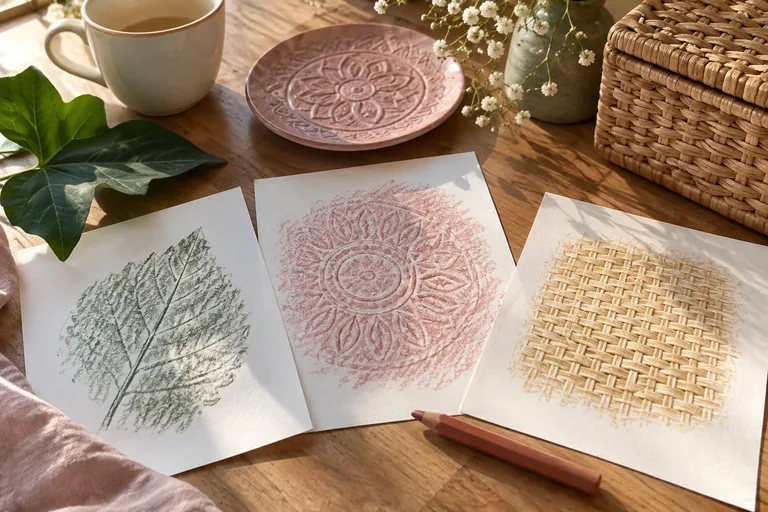
You can cut out a strip, turn a shape over, or layer two rubbings, as long as the surface allows it. A texture made from cardboard can become a roof, a road, or simply a graphic area. You don’t need to represent anything. The creative project journal can capture the intention: exploring rhythms, building a landscape, or working with contrasts.
To add color, start by limiting your palette. The color notebook helps you compare the role of a dominant color and an accent. A hue can bring different impressions together, but it can also hide their details. Test it on a copy or a fragment before changing the only mark you want to keep.
Workshop: choosing a surface and a gesture
Is the surface suitable?
Check ownership, permission, cleanliness, and durability. If in doubt, make your own relief using paper.
The pattern isn’t clear
Stabilize the sheet and change one parameter at a time. Don’t suddenly increase the pressure.
The page looks too busy
Remove one impression and leave an area blank. Compare before gluing anything down.
 Read alsoScripting: Write your dream life to clarify what you want
Sort textures so you can find them again
Give each trial a number and keep a short note: surface, tool, paper, date. You can organize them by rhythm or material, depending on your projects. The idea notebook can include an index that points to the pages without copying all the documentation. A few reliable reference points are better than a system so complicated that you stop using it.
If you draw inspiration from works you’ve seen in a collection of visual references, note what you’re studying: layering, density, composition. Don’t present a reproduction of an artist’s composition as an independent creation. The technique is a starting point; your choices of surfaces and relationships should have their own intention.
End the session with one concrete choice
Before putting everything away, compare the page with your first trials. Name one difference you’d like to revisit: more widely spaced lines, a contrast in pressure, or a wider blank area. If you ask for feedback on your creation, ask a question about the composition instead of asking whether the technique is “well done” in general.
A solo creative session can end with three impressions and a note about how you made them. Clean the surface if needed, and put away the tools without leaving any material on the surfaces you used. The journal keeps a record of the exploration; the objects and places should be left as you found them.
Prepare for your exploration
Generator
A texture to make
Fold a sheet into a fan, then try a light impression.
See all the phrases
Paper
- Fold a sheet into a fan, then try a light impression.
- Place two strips beneath a sheet to create a simple relief.
Object
- Compare two areas of a piece of corrugated cardboard you own.
- Observe the pattern of a sturdy fabric you have available.
Quiz
Surface and precautions
A sheet automatically protects any surface.
See the answer
No. Pressure and rubbing can still leave a mark.
You can create a relief yourself instead of taking one from a place.
See the answer
Yes. Paper and cardboard offer simple alternatives to a fragile surface.
Flip cards
Adjusting your experiment
The paper tearsFlip
Stop and choose a less aggressive material or technique.
The pattern shiftsFlip
Stabilize the sheet before changing the pressure.
All the textures look alikeFlip
Vary their direction or density.
I don’t know what the surface isFlip
Skip the rubbing and make a contact-free observation instead.
Checklist
Collecting responsibly
0 / 5
Your journal preserves impressions without leaving marks on surfaces.
Make a texture instead of searching for one outdoors
Cut or tear a few strips of paper using tools you can handle comfortably, then arrange them on a piece of cardboard you own. Place a sheet over them and do a light test. The overlapping edges create differences in relief. This lets you control the surface and move the strips around to compare two arrangements without touching a fragile object or a public place.
Next, try a steady rhythm, then introduce a break: parallel strips with one changing direction. Rubbing reveals this arrangement differently from the visible collage beneath the sheet. Note what fades and what stands out. A very thin strip may disappear; a thick edge may dominate the whole pattern. Adjust just one element and try again on another small area.
This approach brings composition into the process from the start. You no longer depend only on the textures available around you. The result can remain abstract or suggest a landscape, but you don’t have to name it right away. Keep the relief with your notes on how you made it if you’d like to return to it, or photograph the arrangement before taking it apart.
For a complementary perspective, watch this video from Miss Lam.
Frequently asked questions
How do you make a creative rubbing?
Place a sheet of paper over a suitable raised surface and gently rub it with a pencil. Start with a small test on a sturdy personal object.
What kind of paper should you use?
Try paper that’s flexible enough to reveal the relief without tearing. The result depends on the surface and the tool, so compare them before making a large page.
Can you make a rubbing of tree bark or a monument?
Don’t do it on a fragile or heritage surface, or without appropriate permission. Observing without touching or using a crafted relief are alternatives.
Should you press hard?
No. Start lightly and observe. Too much pressure can tear the paper or mark the surface.
How can you use the impressions?
You can keep them, place them side by side, or incorporate them into a collage. Choose a relationship between textures instead of filling the whole page.
How should you note where the material came from?
Write down the surface, paper, tool, and date. Add the direction of the rubbing if you want to recreate a particular effect.