Contents
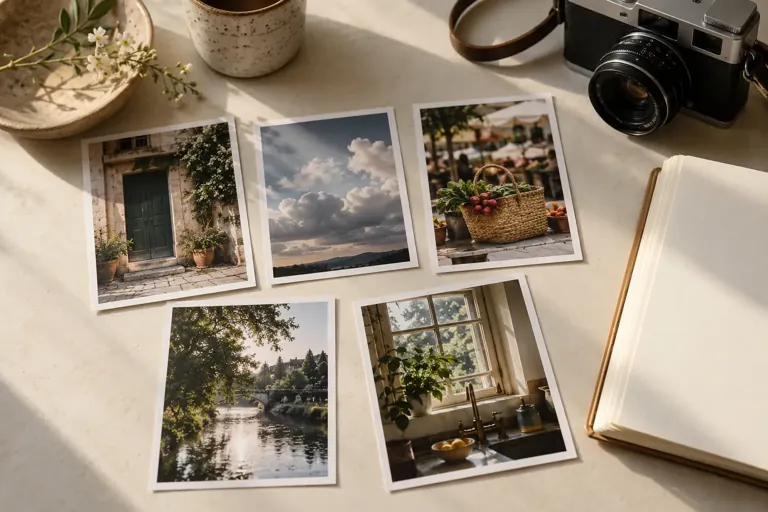
A photo journal pairs a small selection of images with personal captions. Choose a subject or a period, keep a few photographs, and note what the image doesn’t say: the context, what caught your attention, what had just happened. You can start with your phone and a simple folder, without buying equipment or publishing the pages. If you’d like to move from a memory to a shared visual intention, try a small themed photo series. If you’d like to leave part of the moment without a photo, you can savor a moment without having to photograph it.
The difference from an automatic gallery comes down to choice. You’re not just keeping what the camera captured; you’re putting together a collection that tells a story. A technically imperfect image may belong if it preserves an important detail. Conversely, a beautiful photograph may add nothing to the story you want to tell.
Define a small series
Choose a week, a place, or a visual question. “Objects in the entryway,” “my walk to work,” or “the light at lunchtime” are specific enough to get started. A limited series makes selecting easier than a project titled “my whole life in photos.”
Set a rough number, such as five images for the first page. This isn’t an aesthetic rule; it simply makes you choose. If two images tell exactly the same story, ask yourself which one best preserves the detail that interests you. You can keep the other in your original files without adding it to the page.
Also decide whether you want to take photos over the course of several days or work with images you already have. Both approaches are possible. In the second case, note when the photo was taken and when you write the caption. Your perspective today may add information that differs from your original memory.
Photograph a detail in context
Before taking more photos, look at what you want to preserve. A mark on a table, a shadow on a wall, or a moved object may be enough. Try a wide shot, then a closer one. The first establishes the setting; the second draws attention to the detail. You can choose later based on the image’s role in the series.
Check what’s around your subject. A readable letter, a screen, an address, or a face in the background may appear without you noticing. Adjust your framing instead of routinely relying on later edits. This is especially helpful if you plan to share the page.
You don’t need to photograph every moment. A series can include gaps. You can note them with a sentence: “that day, I didn’t keep any images.” The journal is a personal selection, not exhaustive proof of what you did.
Write a caption that doesn’t repeat what’s in the image
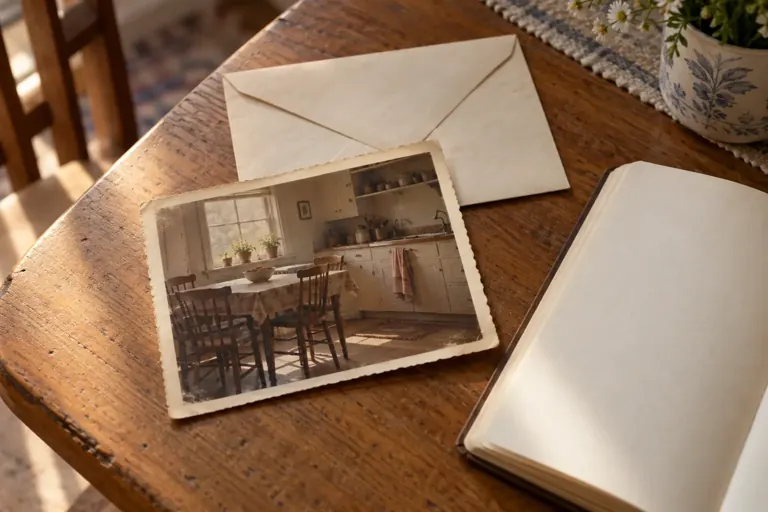
A caption can include a date, a place, and a reason. Instead of “a chair,” write “the chair moved near the window to read after lunch.” The text adds a purpose and a moment. It helps you recall what prompted the photograph.
You can also note what was out of frame: a sound, a wait, a conversation. Distinguish what you know from what you’re reconstructing. A caption written several months later can begin with “what I remember most is…” You’re presenting it as a memory from today, not as a note taken on the spot.
Skip technical details you don’t want to use. If you’re learning photography, settings may be relevant. If your goal is to tell the story of a week, they can stay in the files. The caption should serve the journal you want to create, not fill out a complete template by default.
Quiz
Which caption adds context?
You photograph an open window. Which caption adds personal information?
See the answer
This is where I waited for the rain shower to pass before leaving. The second sentence places an experience in context that the image alone doesn’t show. The visual description may still be useful as alt text for an accessible publication.
 Read alsoScripting: Write your dream life to clarify what you want
Choose an order that tells a story
Chronological order is a simple option, but you can also organize the images by place, color, or contrast. Start with what lets you enter the series. End with an image that opens or closes the moment. You can move the prints or thumbnails around before settling on the page.
Notice the rhythm: a wide view followed by a detail, a dense image followed by a quieter space. You don’t need to know specialized terms to compare two layouts. Just notice what catches your eye first and what you understand about the whole.
For a trip, a series of three images can show the arrival, an unexpected detail, and the departure. For an everyday place, it can show three uses of the same space. The travel journal helps you choose scenes, while the nature journal offers prompts for comparing a place over time. If you’re choosing between an album and an app, our comparison of print and digital journaling can help you tell the difference between portability, search, and privacy. Before sharing your images and stories, the guide to memory journal to pass on can help you choose the context and respect the people mentioned. The associations you notice in your own images can inspire a color journal.
Keep the files without creating an unmanageable archive
Keep the originals in a folder separate from your finished pages. Give the folder a name that includes a date and a subject. For your selections, use a clearly labeled subfolder or album. That way, you won’t have to search through every shot when you want to reprint an image or change a caption.
Plan a backup using the tools you already use. From time to time, check that you can open the files and find the captions. A backup is hard to use when you don’t know where it is or what it contains.
If you print, start with a few images to see how they look on the paper and how the margins turn out. Don’t print a whole album before you’ve seen a sample. You can keep loose prints in an envelope and glue them in only once you’re happy with your selection. Make sure the physical format works with the journal’s thickness.
Share only what you’ve chosen to make public
Before sharing a page, look closely at the people and information that could be recognized. The CNIL points out that image rights also apply online. Check that you have the necessary permissions, and don’t assume that a photo taken in a group can be published freely in any context.
You can create a public version that’s different from your private journal: fewer details, a different image, a more general caption. Keep the meaning of the scene without revealing an address, a precise routine, or someone else’s personal information. Take extra care with children and limit identifying details.
Sharing isn’t a required final step in the project. An album can be just for you or for a chosen circle. You can even turn an image into text with the guide to writing a memory, then keep both versions together. The image and the words will each preserve a different part of the experience. An object you notice in an image can become the narrator of a short fictional scene.
Frequently asked questions
Do I need a dedicated camera?
No. For this project, your choice of subject, framing, and caption matters more than the type of camera. Use the equipment you already have and can easily take with you.
Can I mix old and new photos?
Yes, as long as you indicate the dates or time periods. The contrast can become the subject of the page. Just avoid presenting the images as one scene if they come from different moments.
How many photos per page?
Choose based on the size of the format and the space for captions. Start with a few images, then add only those that bring new information or a different rhythm.